Advanced signing of the representation model without a certificate
We walk you through the guided, intuitive experience the holder of the NIF goes through to sign the representation model — in seconds, from the moment they receive the email with the signing instructions.
For Verifacti to send invoices on behalf of a NIF, the holder of the NIF must sign the representation model. With online signing, the signer does it in seconds, from their phone or computer: they verify their identity with a photo and sign, with no digital certificate required.
On this page you will see, step by step, exactly what the signer experiences — from receiving the email to finishing the signature. Identity verification is carried out by a qualified trust service provider. The screenshots show the mobile version; on a computer the process is the same.
Online signing of the representation model works for both Veri*Factu (AEAT) and TicketBai (Basque Country). It is available for individuals only (self-employed): the issuing NIF must be a DNI or an NIE. Legal entities sign the form with the company representative's digital certificate.
Before you start. The signer only needs their identity document and a camera (on their phone or computer). Two important details: it must be signed by the holder of the NIF themselves (not a third party, such as their accountant), and holders with an NIE must use their passport for the verification.
1. Receives an email
It all starts with an email containing an Open document button. The sender shown can be customised. When they tap the button, the signer goes straight into the identification and signing process: the link itself identifies them, so there is no sign-up or password to remember.
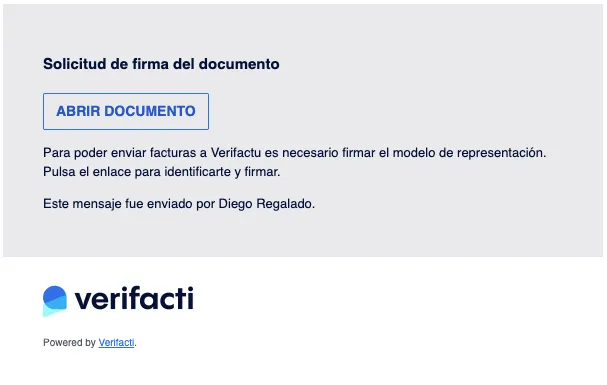
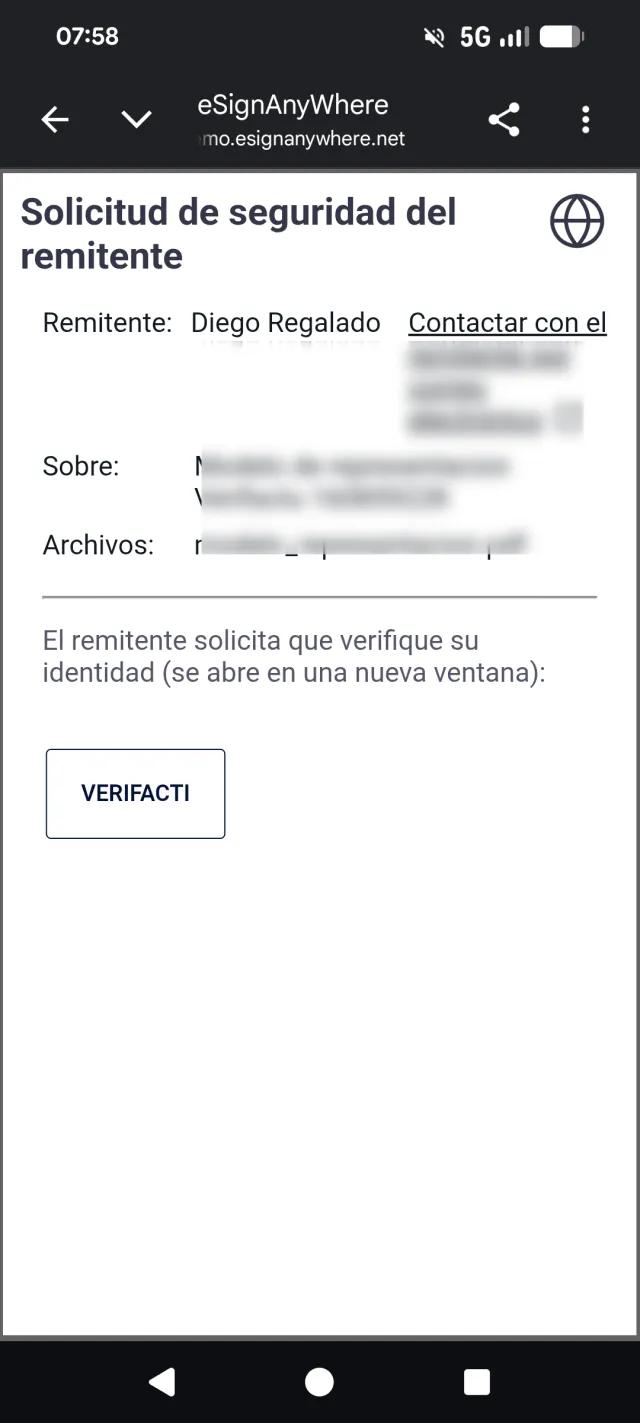
2. Opens the document and accepts the terms
They see a summary of the sender and the document to sign (the modelo_representacion.pdf) and tap to verify their identity. Before starting, they accept the processing of their personal and biometric data: identity is checked through facial recognition from a photo.
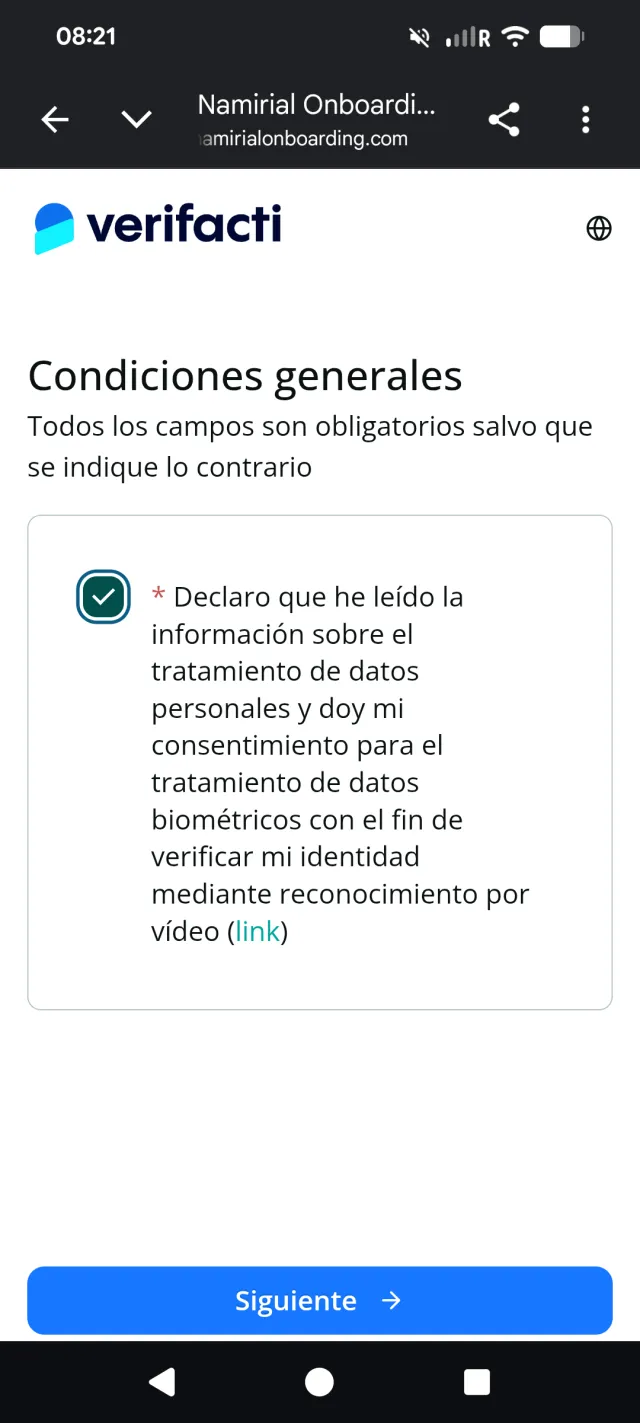
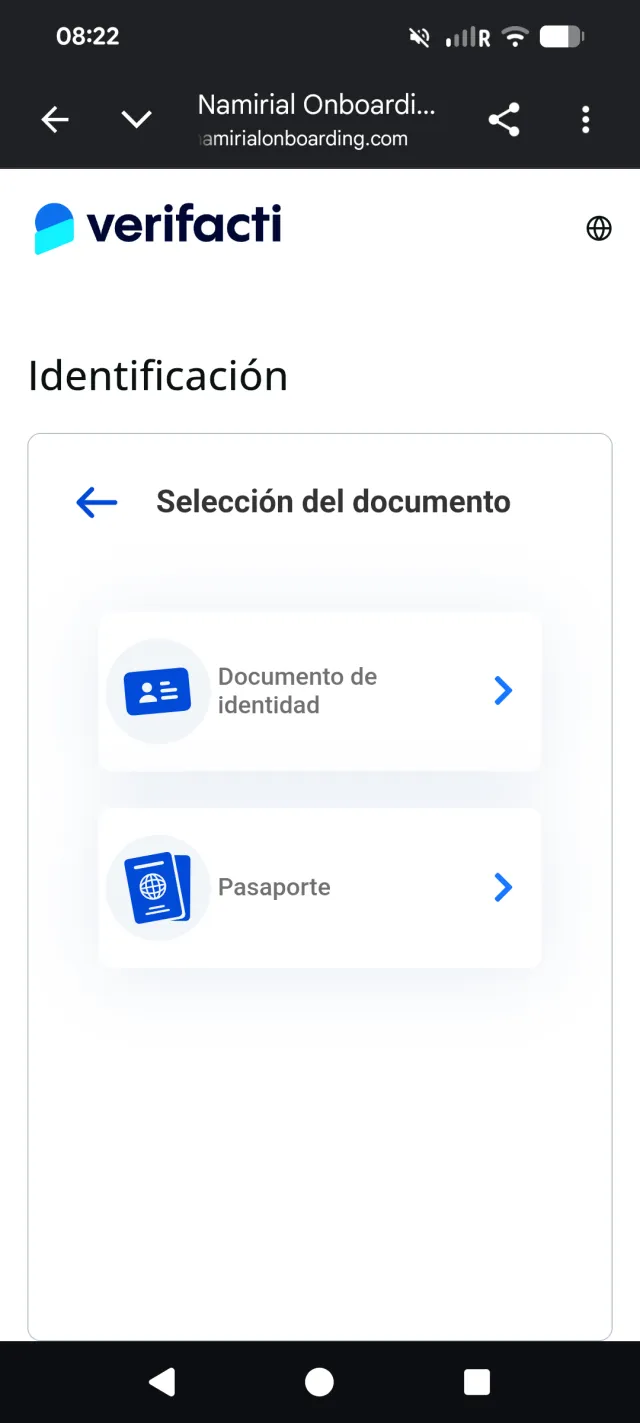
3. Verifies their identity with their ID
They choose the document type and film it following the on-screen guidance. Holders with a DNI use their identity document; holders with an NIE must select Passport. The recording is guided and only takes a few seconds.
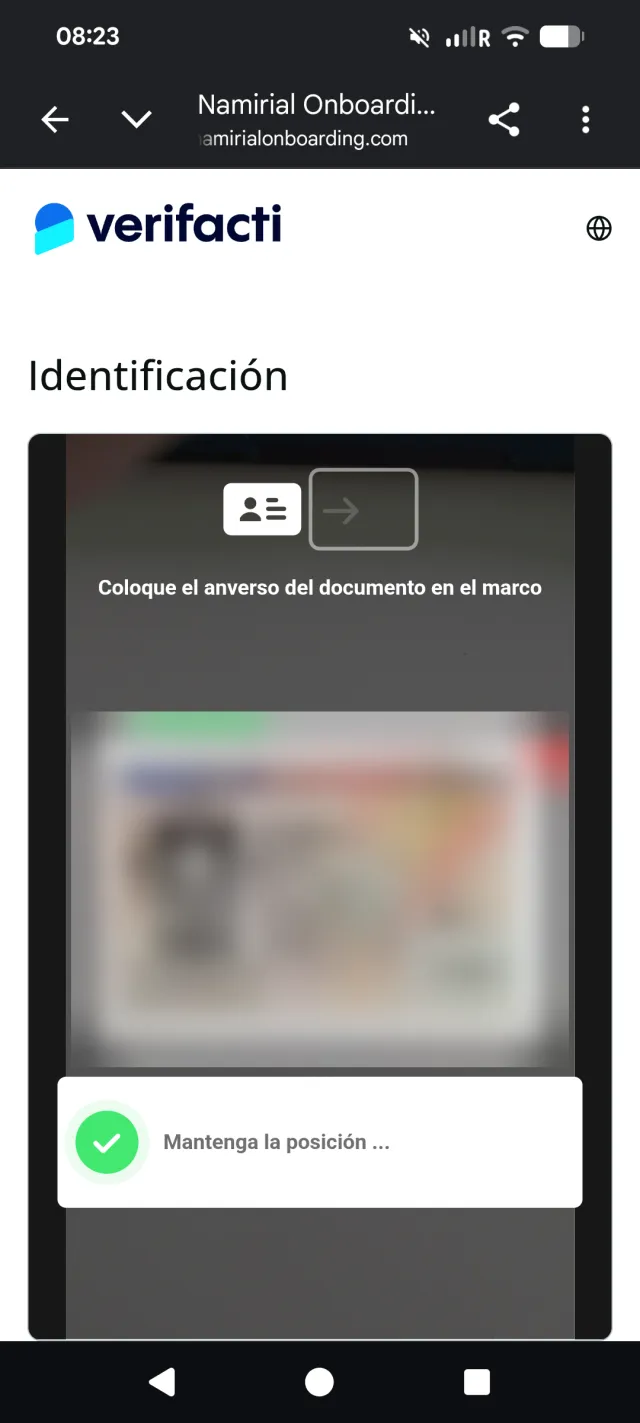
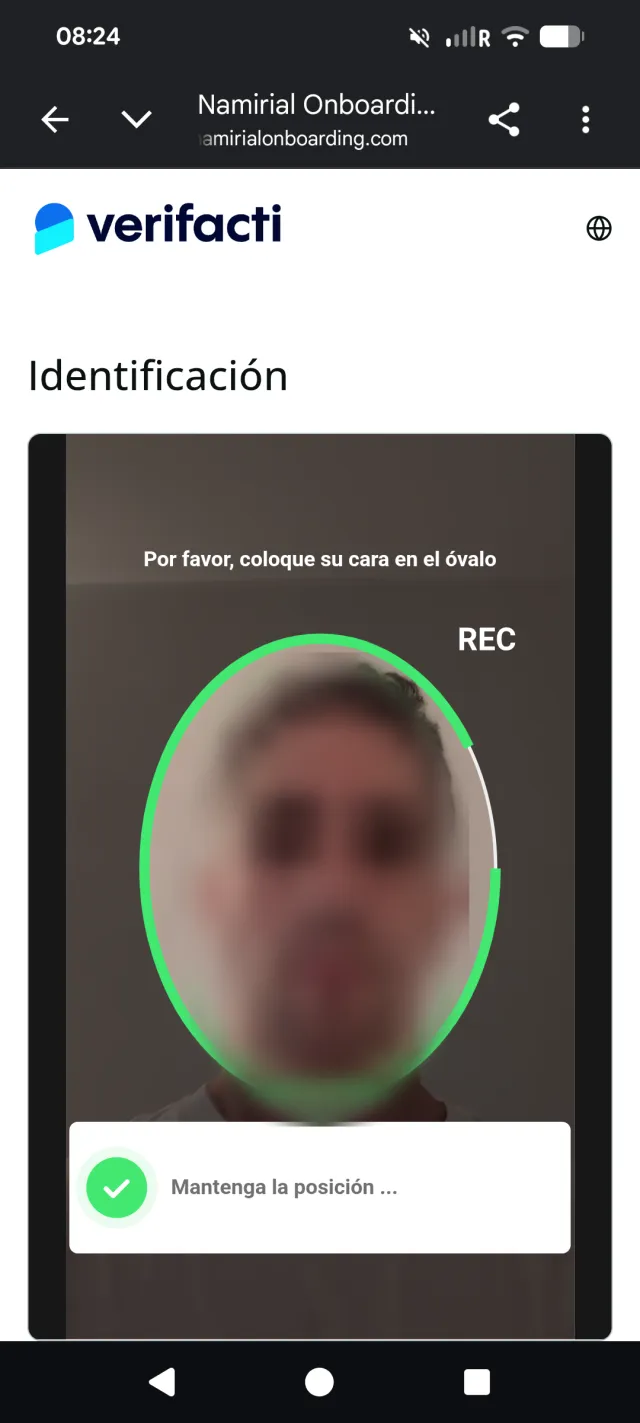
4. Takes a selfie
To confirm they are the same person as on the document, they take a photo of their face inside the oval. A well-lit room helps.
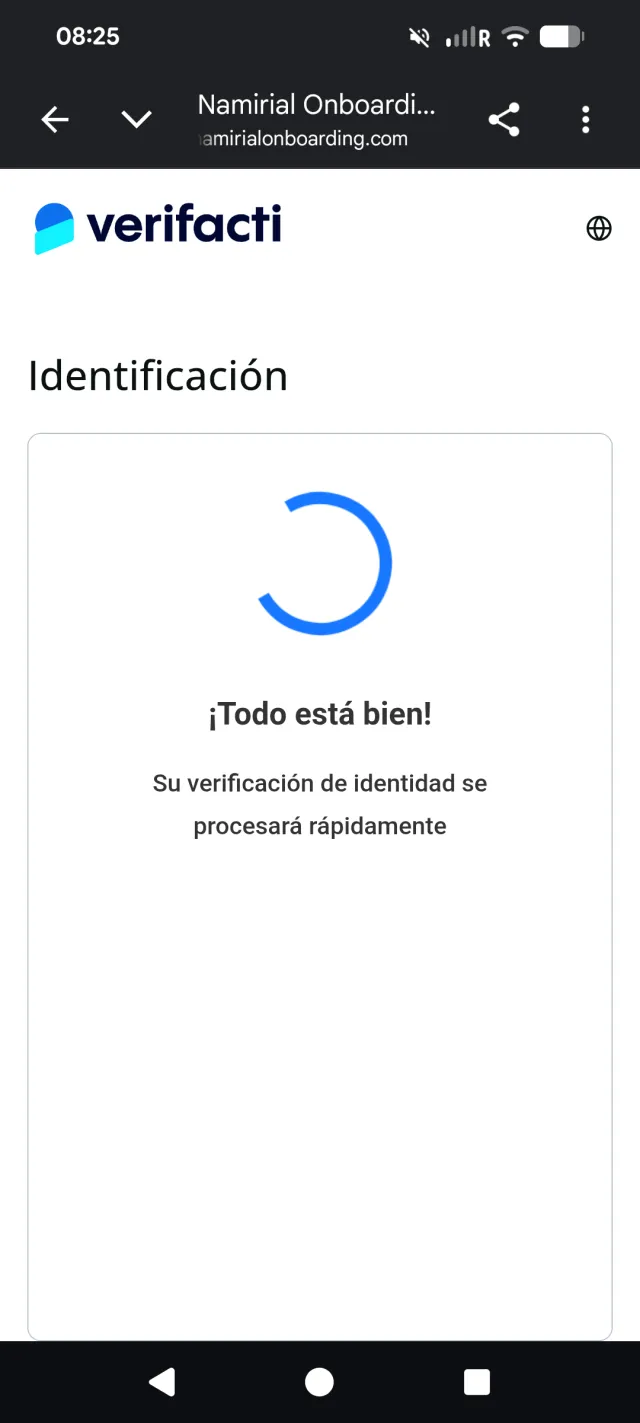
5. Automatic verification
Within seconds, Namirial validates the identity and shows the result. The verified identity must match the holder of the NIF: that is why it must be signed by the holder themselves and not a third party. If the identity does not match, the signature will not be accepted as valid.
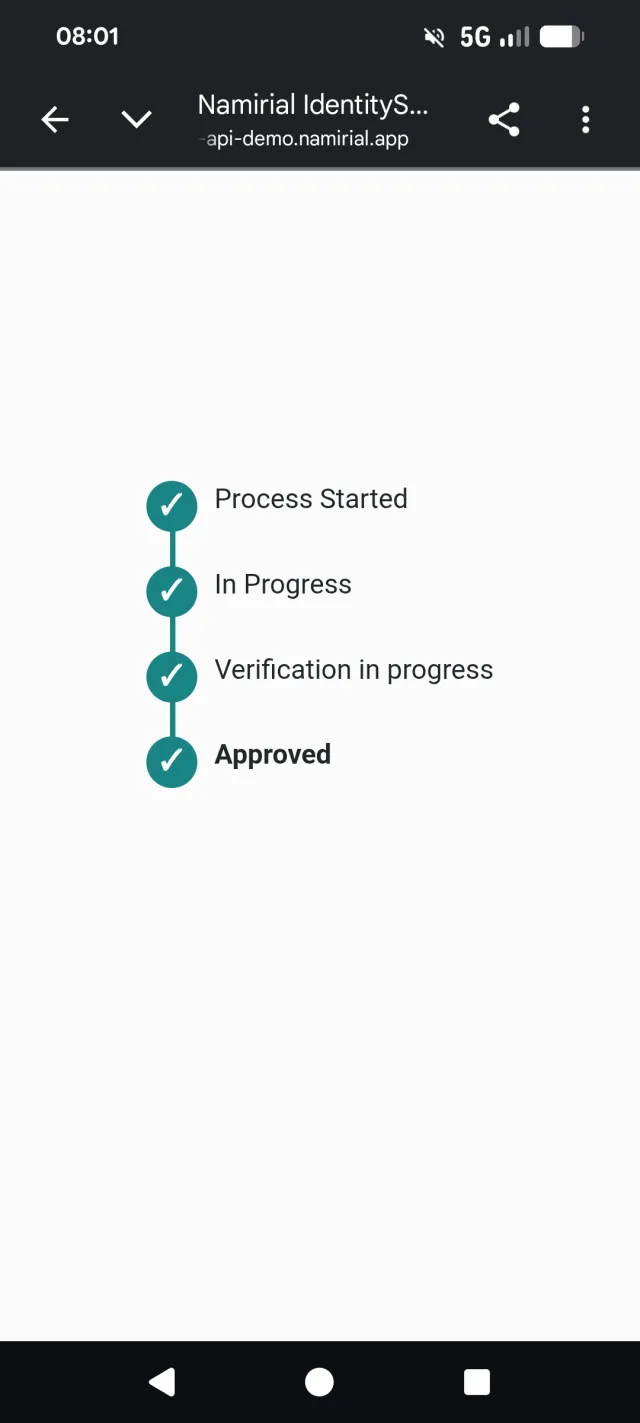
6. Reviews the document and signs
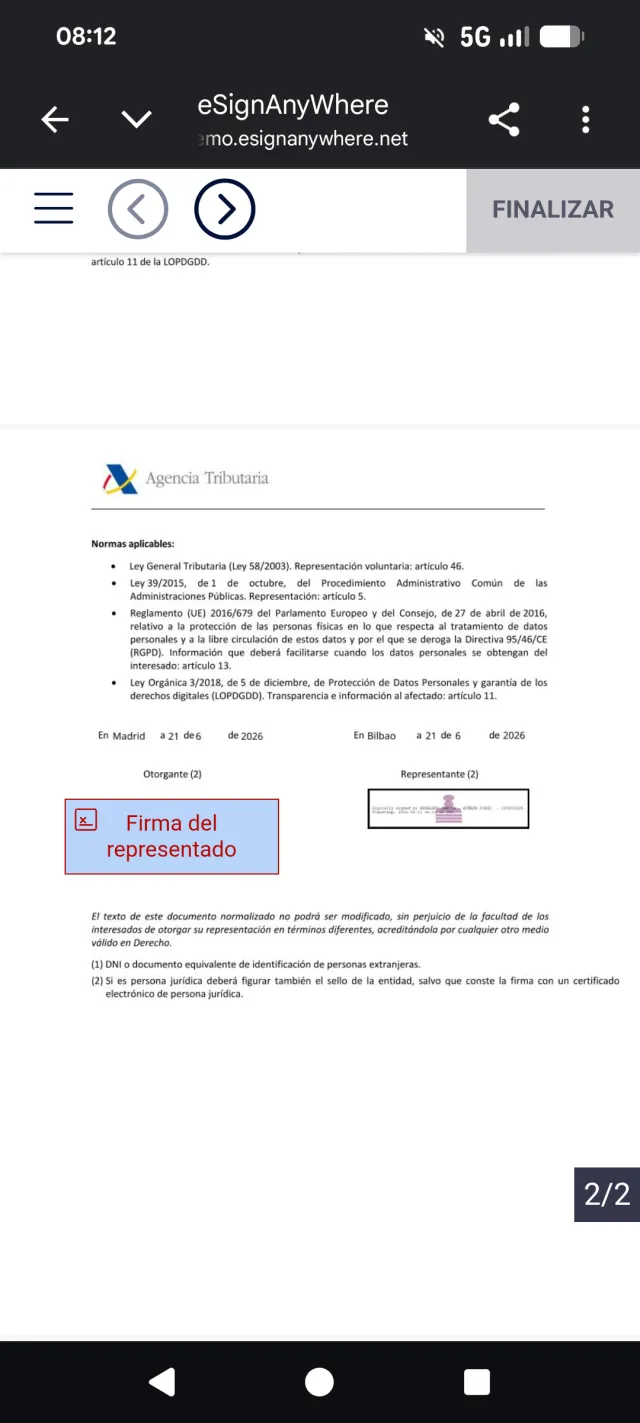
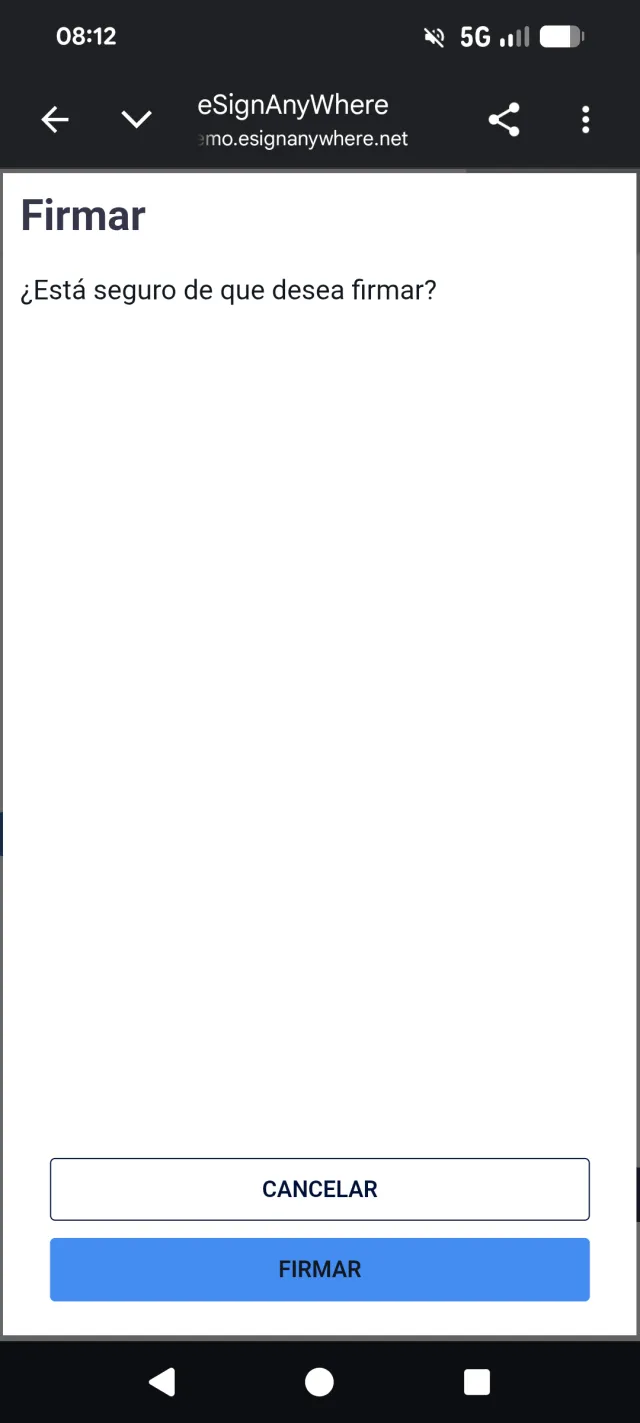
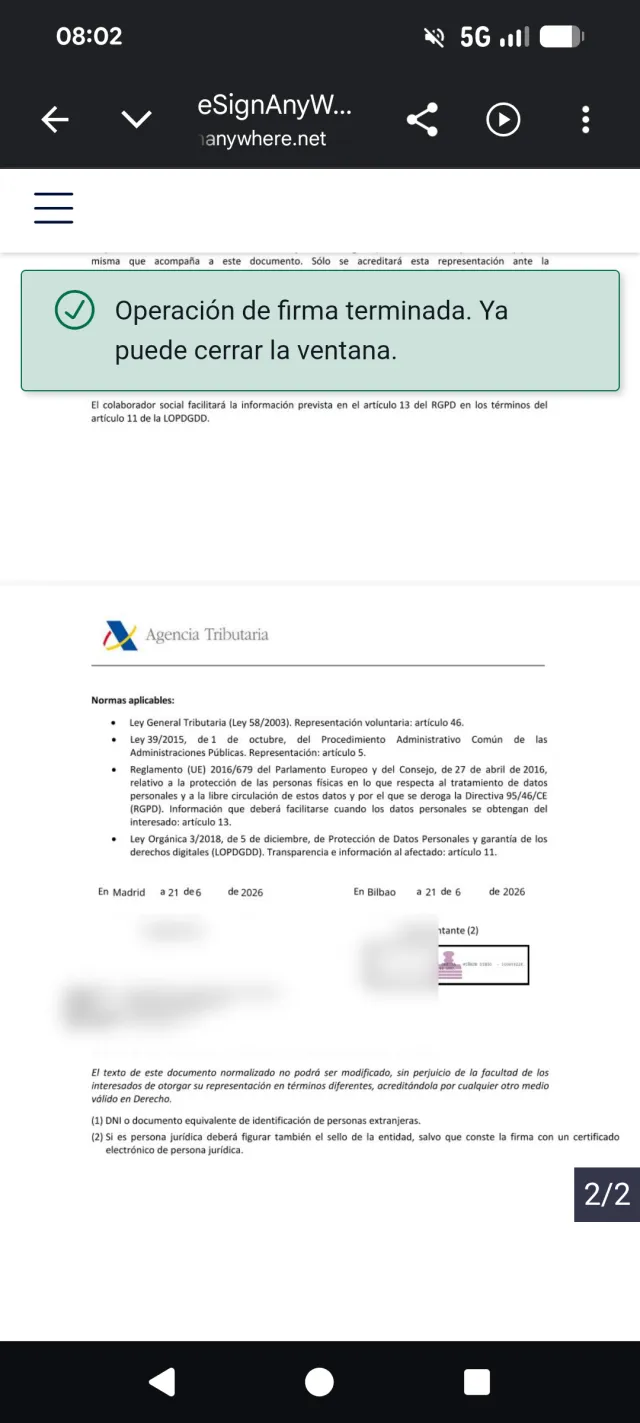
Finally, they review the representation model and sign it with one click. When finished, they see a confirmation and can close the window. At that point the NIF is authorised and, in your Verifacti dashboard, the representation status changes to Correcto automatically.
And that is it. For the signer, the whole process is just a few minutes from their phone, with no certificates or installations. Want to see how signing is started from your dashboard? Check the quick guide or the pricing.